Table of Contents
How to Create an iOS App from Scratch: Step-by-Step Guide for Beginners
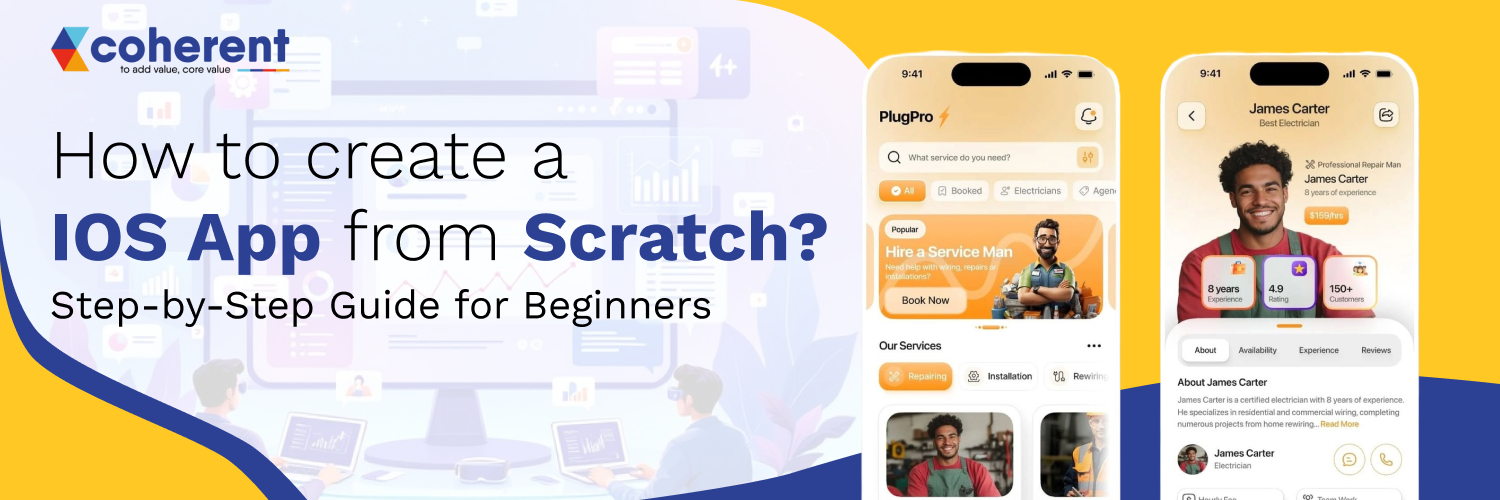
Building your first iPhone app may sound complicated, but with the right guidance, anyone can turn an idea into a fully functional product. If you're wondering how to create an iOS app from scratch, this beginner-friendly guide will walk you through every essential step from planning and design to development and launch. Whether you’re a student, entrepreneur, or aspiring developer, learning iOS app development opens doors to millions of users on the Apple App Store.
In today’s digital world, businesses and startups rely heavily on mobile app development to grow their brand and connect with customers. By using tools like Swift, Xcode, and Apple’s powerful development ecosystem, you can build secure, high-performance applications tailored for iPhone and iPad users.
This step-by-step guide simplifies the entire Mobile app development process, helping beginners understand coding basics, UI design, testing, and app store submission, all explained in a clear, practical, and human way.
Why Build an iOS App in 2026?
Building an iOS app in 2026 is a smart move for businesses and developers aiming to reach a premium, high-spending audience. With the continued growth of the Apple App Store, strong security standards, and advanced tools like Swift and Xcode, iOS app development offers performance, scalability, and global market opportunities for long-term digital success.
-
Reach a loyal, high-spending global iPhone user base
-
Strong security and privacy standards build user trust
-
High app revenue potential through the Apple ecosystem
-
Powerful tools like Swift and Xcode simplify development
-
Smooth performance across iPhone, iPad, and Apple devices
-
Global visibility and credibility on the Apple App Store
Step-by-Step Guide to Creating an iOS App from Scratch
Creating an iOS app from scratch may seem overwhelming, but with the right step-by-step approach, it becomes an exciting and achievable journey. From validating your idea and designing the user interface to coding with Swift, testing in Xcode, and publishing on the Apple App Store, this guide simplifies the entire iOS app development process for beginners.
Step 1: Understand the Basics of iOS App Development
Start by learning the fundamentals of iOS app development, including how apps work, basic programming concepts, and Apple’s ecosystem. Get familiar with Swift, Xcode, and core app architecture before building.
What is Swift?
Swift is a powerful, modern programming language developed by Apple for building fast, secure iOS, macOS, and iPadOS applications.
-
Beginner-friendly
-
Fast and powerful
-
Safe and modern
-
Continuously updated
Swift is easier to learn compared to older languages like Objective-C.
What is Xcode?
Xcode is Apple’s official integrated development environment (IDE) for designing, developing, testing, and publishing iOS and macOS applications. It provides coding tools, simulators, and debugging features for building apps efficiently.
-
Write Swift code
-
Design app interfaces
-
Test apps using Simulator
-
Debug errors
-
Submit apps to the App Store
Step 2: Set Up Your Development Environment
Install Xcode on your Mac, create an Apple Developer account, and configure essential tools to start building your iOS app.
System Requirements
A Mac computer, the latest macOS version, Xcode installed, stable internet connection, Apple Developer account.
-
A Mac (macOS installed)
-
Stable internet connection
-
Apple ID
Install Xcode
To install Xcode, open the App Store on your Mac, search for Xcode, and click Get → Install.
Once installed, open it to download additional components and start setting up your iOS development environment.
-
Open the Mac App Store
-
Search for Xcode
-
Download and install
Step 3: Create Your First iOS Project
Open Xcode, choose a template, name your app, and configure basic project settings.
-
Click “Create a New Project”
-
Choose the “iOS App” template
-
Enter app name
-
Select Swift as the language
-
Choose SwiftUI or UIKit interface
-
Click Create
Step 4: Learn Swift Programming Fundamentals
Understand the basics of Swift, including variables, data types, functions, loops, and conditionals. Practice writing simple programs to strengthen logic and problem-solving skills before building real iOS app features.
-
Variables and Constants
-
Data Types (String, Int, Double, Bool)
-
Functions
-
Conditionals (if-else)
-
Loops
-
Classes and Structs
-
Optionals
Step 5: Design Your App Interface (UI/UX)
Focus on creating a user-friendly and visually appealing interface using Xcode’s Interface Builder. Plan intuitive navigation, layouts, and interactive elements to enhance the overall user experience for your iOS app.
SwiftUI (Recommended for Beginners)
SwiftUI allows you to build beautiful interfaces with less code.
-
Simple syntax
-
Real-time preview
-
Modern design approach
-
Faster development
Step 6: Add Core App Features
Integrate essential features into your iOS app, such as navigation, buttons, forms, notifications, and data storage. Use Swift to implement functionality, connect UI elements, and ensure your app delivers a smooth, interactive, and engaging user experience.
-
Buttons and navigation
-
Forms and user input
-
Images and lists
-
Alerts and popups
-
Data storage (UserDefaults)
-
API integration
Step 7: Test Your iOS App
Thoroughly test your iOS app using Xcode’s simulator and real devices. Check for bugs, crashes, and performance issues. Ensure smooth functionality, responsive design, and a seamless user experience before preparing your app for App Store submission.
-
Use iOS Simulator in Xcode
-
Test on a real iPhone
-
Check performance
-
Fix crashes and layout issues
Step 8: Join the Apple Developer Program
Enroll in the Apple Developer Program to access app distribution, beta testing, and advanced tools. Membership enables you to publish your iOS app on the Apple App Store confidently.
-
Annual fee required
-
Access to beta tools
-
App Store publishing rights
-
Developer support
Step 9: Prepare Your App for App Store Submission
Before submitting, optimize your app by creating an appealing icon, writing a clear description, setting screenshots, and ensuring it meets Apple’s guidelines for a smooth App Store approval process.
-
App follows Apple guidelines
-
No crashes or major bugs
-
Clean UI design
-
App icon and screenshots ready
-
Strong app description with keywords
Step 10: Publish Your App on the App Store
Submit your app through Xcode or App Store Connect, complete all required details, and release it to millions of users worldwide. Monitor performance, updates, and user feedback for continuous improvement.
-
Apple reviews your app
-
Approval usually takes 24–72 hours
-
If rejected, fix issues and resubmit
Common Mistakes Beginners Should Avoid
Beginners often make mistakes like skipping proper planning, neglecting UI/UX design, or overlooking testing, which can lead to buggy apps and poor user experiences. Avoid overcomplicating features, ignoring Apple’s guidelines, and rushing app store submission. Focus on learning Swift fundamentals, building clean code, and iteratively improving your app to ensure a polished, user-friendly, and successful iOS application.
| Common Mistake | Why to Avoid | Better Approach |
|---|---|---|
| Skipping proper planning | Leads to unclear goals and inefficient development | Outline app purpose, target audience, and features before coding |
| Neglecting UI/UX design | Poor user experience can reduce engagement and retention | Focus on intuitive navigation, clean layouts, and responsive design |
| Ignoring testing | Bugs and crashes harm credibility | Test on simulators and real devices frequently |
| Overcomplicating features | Can confuse users and slow development | Start simple, add features gradually based on user feedback |
| Violating Apple’s guidelines | App may be rejected from the App Store | Study and follow Apple’s submission rules |
| Rushing app store submission | Can result in rejected or low-quality apps | Review, optimize, and polish before publishing |
| Weak code practices | Leads to maintainability issues and app crashes | Follow Swift best practices, modular coding, and clean documentation |
How Much Does It Cost to Build an iOS App?
The mobile app development cost for an iOS app varies based on complexity, features, and design. On average, building an iOS app can range from $20,000 to $150,000, depending on functionality, UI/UX, and development expertise.
| App Type | Key Features & Functionality | Development Time | Mobile App Development Cost (USD) |
|---|---|---|---|
| Basic App | Simple UI, no backend, minimal features | 1–2 months | $20,000 – $40,000 |
| Intermediate App | Custom UI/UX, user authentication, API integration | 3–5 months | $40,000 – $80,000 |
| Advanced App | Complex UI, real-time features, server & API, analytics | 6–9 months | $80,000 – $150,000 |
| Enterprise App | High security, multi-platform integration, and large-scale features | 9+ months | $150,000+ |
How Long Does It Take to Build an iOS App?
The time to build an iOS app depends on its complexity. A basic app may take 1–2 months, an intermediate app 3–5 months, and a complex app 6–9 months, including design, development, testing, and deployment.
| App Type | Key Features & Functionality | Estimated Development Time |
|---|---|---|
| Basic App | Simple UI, minimal features, no backend | 1–2 months |
| Intermediate App | Custom UI/UX, user authentication, API integration | 3–5 months |
| Advanced App | Complex UI, real-time features, server & analytics | 6–9 months |
| Enterprise App | High security, multi-platform integration, and large-scale features | 9+ months |
conclusion
Creating an iOS app from scratch may seem challenging at first, but by breaking it down step by step, beginners can confidently turn their ideas into reality. From planning your concept and designing a user-friendly interface to coding, testing, and finally launching on the App Store, each stage plays a crucial role. Remember, patience and consistent practice are key; every little progress adds up to a fully functional app.
Start simple, learn from mistakes, and refine your app based on feedback. With dedication and creativity, you can build an iOS app that not only works smoothly but also delivers value to your users.

Frequently Asked Questions
Q1. What are the first steps to create an iOS app for beginners?
Ans. Learn Swift, install Xcode, plan an app, design an interface, and start coding.
-
Learn the basics of Swift programming
-
Install Xcode on a Mac
-
Design a simple app idea
-
Test your app regularly. Starting with small projects helps you gain confidence before building complex apps.
Q2. Do I need a Mac to develop an iOS app?
Ans. Yes, iOS development requires macOS because Xcode, Apple’s official IDE, only runs on Mac. You can also use a MacBook or Mac Mini for development.
Q3. Which programming language is best for iOS development?
Ans. Swift is the recommended language:
-
Modern and beginner-friendly
-
Safe and fast
-
Officially supported by Apple
-
Compatible with both SwiftUI and UIKit
Q4. Can I build an iOS app without coding?
Ans. Yes, no-code platforms like Glide or Adalo exist, but they have limitations. Learning Swift gives you:
-
Full control over app design
-
Ability to implement custom features
-
Better performance
-
App Store approval advantages
Q5. How much time does it take to learn iOS app development?
Ans. For beginners:
-
1–2 months: Basics of Swift & Xcode
-
2–3 weeks: Build a simple app
-
3–6 months: Intermediate to advanced apps. Consistency is key — practice daily to speed up learning.
Q6. How can I test my iOS app before publishing?
Ans.To test your iOS app before publishing, use Xcode’s built-in simulator to check functionality on different devices. Additionally, enroll in Apple’s TestFlight to invite beta testers. Collect feedback, fix bugs, and ensure smooth performance. Thorough testing improves user experience and increases chances of App Store approval.
Q7. What is the Apple Developer Program, and why do I need it?
Ans. The program allows app publishing, access to tools, resources, and developer support.
-
Required to publish apps on the App Store
-
Costs $99/year
-
Access to beta tools and developer resources
-
Allows app submission, testing, and analytics
Q8. How do I make my iOS app UI beginner-friendly?
Ans. Use simple layouts, clear navigation, readable fonts, intuitive buttons, and consistent design.
-
Keep the interface simple and clean
-
Follow Apple’s Human Interface Guidelines
-
Use SwiftUI for modern layouts
-
Avoid cluttered screens
-
Test the UI on multiple screen sizes
Q9. What are common mistakes beginners should avoid?
Ans. Ignoring testing, poor design, skipping updates, weak security, and unclear goals.
-
Skipping testing and debugging
-
Trying to create a complex app first
-
Ignoring Apple design guidelines
-
Overloading features at launch
-
Neglecting app performance
Q10. How do I publish my iOS app on the App Store?
Ans. To publish your iOS app on the App Store, enroll in the Apple Developer Program, prepare your app in Xcode, submit it for review, and follow Apple’s guidelines for approval.

 +91 774-202-1725
 +1 (945) 3387904
 business@coherentlab.com
 +49 15223341304
 UK
UK