Table of Contents
How to Build an Efficient YouTube Video Production Workflow in 2027
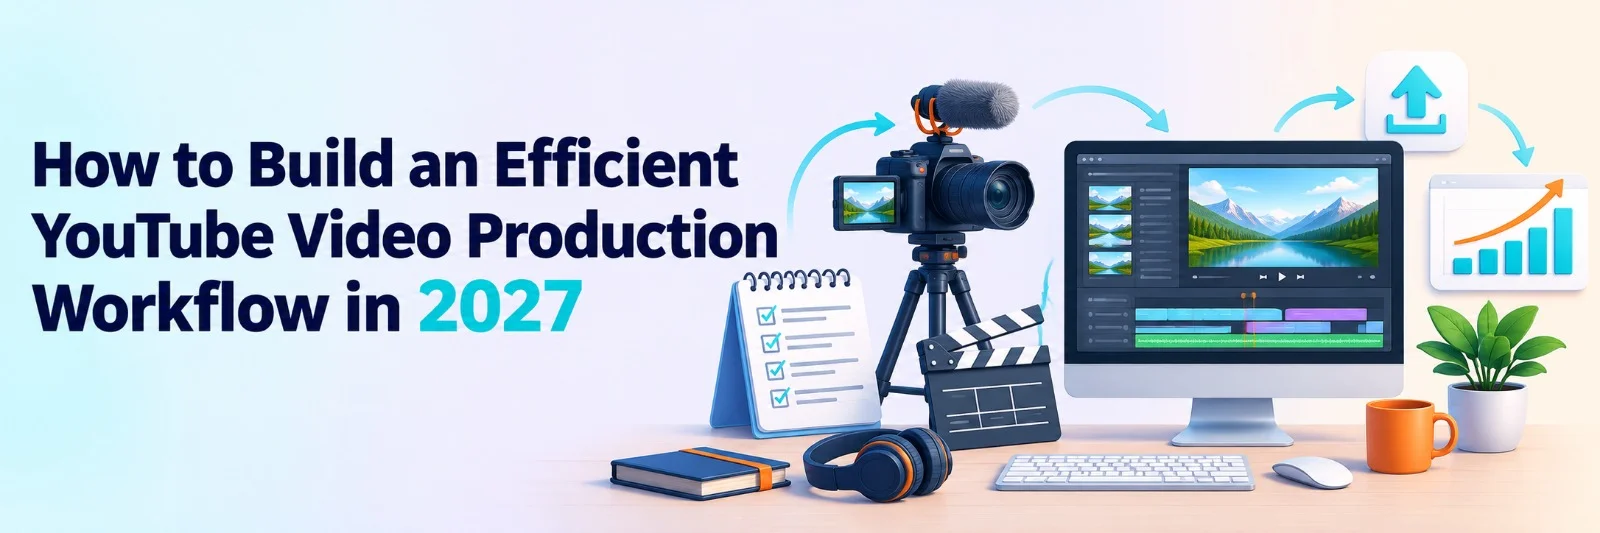
A YouTube video production workflow is a step-by-step process for planning, recording, editing, publishing, and improving video content. It helps creators organize their work, maintain consistent quality, and produce videos without spending unnecessary time on repetitive tasks.
Creating YouTube videos involves much more than recording footage and uploading it. Creators need to research topics, write scripts, manage equipment, edit recordings, design thumbnails, and optimize videos for search.
Without a clear workflow, these tasks can quickly become difficult to manage, especially for businesses and creators publishing content regularly.
In 2027, AI-assisted editing and cloud-based production tools can help simplify different stages of video creation. However, having the right process is just as important as choosing the right software.
This guide explains how to build an efficient YouTube video production workflow, from the initial idea to publishing and performance analysis.
What Is a YouTube Video Production Workflow?
A YouTube video production workflow is an organized system that guides a video from its initial concept to the final published version.
It divides video creation into smaller stages so that creators can manage each task without losing track of their progress.
A typical workflow includes:
- Content planning: Researching topics and understanding audience needs.
- Pre-production: Writing scripts, preparing equipment, and organizing resources.
- Production: Recording video footage and audio.
- Post-production: Editing clips, improving sound, and adding visuals.
- Publishing: Preparing titles, descriptions, thumbnails, and video settings.
- Performance analysis: Reviewing results and improving future videos.
Following these stages helps reduce confusion and makes video production easier to repeat.
For teams, it also creates a clear process for assigning responsibilities and reviewing content before publication.
Why Is an Efficient YouTube Production Workflow Important?
A structured workflow helps creators spend less time managing production tasks and more time improving their content.
Without proper planning, videos can get delayed because of missing footage, unclear scripts, or repeated editing changes.
An efficient process offers several benefits.
Saves Production Time
Organizing tasks beforehand reduces unnecessary work. Creators know what needs to be recorded, which files belong to each project, and when editing should begin.
Improves Video Consistency
A repeatable process helps maintain consistent audio, visuals, editing styles, and publishing standards across videos.
Makes Team Collaboration Easier
When multiple people handle scripting, recording, editing, and publishing, a clear workflow helps everyone understand their responsibilities.
Supports Regular Publishing
Creators who follow an organized schedule can plan upcoming videos while completing current projects.
This makes it easier to maintain a publishing routine without rushing through production.
Step 1: Plan Your YouTube Content Strategy
Every efficient YouTube workflow starts with content planning.
Before recording, identify the audience you want to reach and the problems your videos should address.
For instance, a technology company might create tutorials, software demonstrations, product comparisons, and educational videos.
Start by researching topics through YouTube Search, Google Trends, audience questions, and competitor channels.
Look for subjects that match your channel's purpose and offer useful information.
Once you have a list of ideas, organize them into a content calendar.
Your calendar should include the video topic, target audience, recording date, publishing date, and production status.
Planning several videos together can reduce the time spent deciding what to create next.
Step 2: Write Scripts and Prepare a Shot List
A good script helps keep your video clear and prevents unnecessary recording.
Start with an introduction that explains what viewers will learn. Then organize the main content into logical sections and finish with a useful conclusion.
You do not need to write every word for conversational videos. A structured outline may be enough for interviews, discussions, or personal content.
For tutorials and product demonstrations, detailed scripts are often more helpful.
A simple script should include:
- Opening hook: Introduce the main problem or question.
- Main content: Explain the topic in a logical sequence.
- Supporting visuals: Identify screenshots, demonstrations, or additional footage.
- Conclusion: Summarize the main points and suggest the next step.
After preparing the script, create a short list.
A shot list identifies the footage needed for each section, including camera angles, screen recordings, product shots, and supporting visuals.
This preparation reduces the chances of discovering missing footage during editing.
Step 3: Record High-Quality Video and Audio
Recording quality directly affects the editing process.
Poor lighting, unclear audio, and inconsistent framing can create additional work during post-production.
Fortunately, professional recording equipment is not always necessary.
A smartphone, basic microphone, and suitable lighting can produce useful footage for many YouTube projects.
Focus on three important areas.
Lighting
Position your main light in front of the subject. Natural window light can work well when the lighting remains consistent.
Avoid placing a bright window directly behind the speaker unless you have suitable lighting equipment.
Audio
Clear audio is especially important for tutorials, interviews, and educational videos.
Record in a quiet environment and test your microphone before beginning.
Camera Setup
Choose a suitable resolution and frame rate before recording. Keep your camera stable and maintain consistent framing across different takes.
Recording a few seconds before and after each speaking section can also make editing easier.
Good recording habits reduce the amount of correction needed later.
Step 4: Organize Footage Before Editing
File management is often overlooked during YouTube production.
However, organizing recordings before editing can save considerable time, particularly when projects include multiple cameras, repeated takes, and supporting footage.
Create a separate folder for every video.
A simple folder structure might look like this:
|
Folder |
Purpose |
|---|---|
|
Raw Footage |
Original camera recordings |
|
Audio |
Voice recordings and music |
|
Graphics |
Images, logos, and visual assets |
|
Project Files |
Editing project and related files |
|
Exports |
Finished videos and review versions |
Use clear file names that identify the recording date, camera angle, or content section.
For instance, product-demo-camera-a.mp4 is easier to recognize than an automatically generated file name.
Keep backup copies of important recordings before making changes.
For teams using cloud-based storage, consistent folder structures also help editors find the required assets without repeatedly asking for files.
Step 5: Choose the Right YouTube Video Editing Software
Video editing is one of the most time-consuming parts of YouTube production. It involves reviewing footage, selecting useful takes, removing mistakes, arranging clips, improving audio, and preparing the final sequence.
Choosing suitable software can make these tasks easier to manage.
An effective editor should support the type of content you create while providing enough control over the finished video.
Using AI-Assisted Editing Tools
AI editing tools can help reduce repetitive work during post-production.
Invideo Editor is a browser-based professional editor that combines an editable timeline with AI editing agents. Users can upload raw footage, describe the required edit, and assign tasks such as reviewing recordings, selecting usable takes, and removing repeated sections.
For creators looking for a youtube video editor, the platform also provides AI-assisted video creation, voiceovers, subtitles, and editing through text instructions. These features can support different stages of YouTube production while allowing creators to prepare content for publishing.
The main advantage of this approach is that creators can spend less time handling routine editing operations and more time refining their videos.
Features to Look for in Editing Software
When selecting YouTube video editing software, consider the following capabilities:
- Timeline editing: Arrange clips, adjust their duration, and control the sequence.
- Audio editing: Improve dialogue clarity and balance background music.
- Subtitles: Add readable captions for viewers.
- Visual adjustments: Correct colors, add transitions, and improve presentation.
- AI assistance: Reduce time spent on repeated editing tasks.
- Export options: Prepare videos in the required resolution and format.
An online YouTube video editor can be useful for creators working across multiple devices because it reduces the need for a dedicated editing workstation.
A free YouTube video editor may also be enough for beginners, although export limits, watermarks, and advanced features can vary between platforms.
Step 6: Create an Editable First Cut
The first editing stage should focus on building a complete sequence rather than polishing every detail.
Start by reviewing the recorded footage and removing obvious mistakes, repeated explanations, and unusable sections.
Then arrange the remaining clips according to your script or outline.
This produces a base cut that shows how the video will flow from beginning to end.
An AI YouTube video editor can assist with this stage by identifying usable footage and helping assemble the initial sequence.
Invideo Editor supports agentic assembly, allowing users to describe how their recordings should be organized. Its editing agents can review footage, select useful takes, and place the material on an editable timeline.
Once the first cut is ready, watch the entire video.
Check whether the introduction establishes the topic clearly, whether important explanations are missing, and whether the sequence follows a logical order.
Avoid spending too much time on effects before the basic structure is complete.
Step 7: Improve Pacing, Audio, and Visual Quality
After completing the first cut, focus on making the video easier to watch.
Remove unnecessary pauses where they interrupt the flow, but leave enough space for viewers to understand important information.
Use supporting footage when it helps explain an idea or makes a longer section more engaging.
For tutorials, screen recordings and close-up demonstrations can be particularly useful.
Refine Audio Quality
Adjust voice levels so dialogue remains clear throughout the video.
Reduce background noise where possible and make sure music does not overpower the speaker.
Add Captions and Graphics
Captions can help viewers follow spoken content, especially when watching without sound.
Use titles, labels, and graphics to highlight important information without distracting from the main message.
Maintain Visual Consistency
Apply similar color adjustments across related clips.
Keep fonts, transitions, and graphic styles consistent with your channel's visual identity.
Invideo Editor also supports AI-assisted adjustments to pacing, color, audio, and video sequences. Editors can review the results and make manual changes when necessary.
The final goal is not to add as many effects as possible. It is to make the video clear, engaging, and easy to follow.
Step 8: Review and Export Your YouTube Video
Quality checking should be part of every YouTube production workflow.
Before exporting, watch the complete video and check for editing mistakes.
Look for missing visuals, sudden audio changes, incorrect captions, awkward cuts, and inconsistent graphics.
If you work with a team, assign someone who was not responsible for the initial edit to review the content.
A second review can help identify issues that the editor may have missed.
Once the video is approved, export it using settings suitable for YouTube.
Check the current recommended upload specifications for your chosen resolution, frame rate, and file format.
Invideo Editor allows creators to continue refining their projects on the timeline before preparing the finished video for delivery.
After exporting, watch the saved file to confirm that the audio and visuals appear correctly.
Step 9: Optimize Your Video Before Publishing
Producing a good video is only part of growing a YouTube channel.
The title, thumbnail, description, and overall presentation also influence whether viewers choose to watch.
Start with a clear title that explains the video's main topic.
Avoid misleading titles that promise information the video does not provide.
Design a thumbnail with readable text, a clear subject, and strong visual contrast.
Your video description should summarize the content and provide useful links or additional information.
You can also add chapters when they help viewers navigate longer videos.
Before publishing, review the thumbnail, visibility settings, subtitles, and relevant audience settings.
These small checks can prevent avoidable publishing mistakes.
Step 10: Analyze Performance and Improve Future Videos
A YouTube production workflow should continue after publishing.
Reviewing video performance helps creators understand which topics, formats, and editing approaches work best.
YouTube Analytics provides information about audience behavior and content performance.
Some useful metrics include:
|
Metric |
What It Helps You Understand |
|---|---|
|
Click-through rate (CTR) |
How often impressions lead to views |
|
Average view duration |
How long viewers typically watch |
|
Audience retention |
Where viewers continue watching or leave |
|
Watch time |
Total time spent watching the video |
|
Traffic sources |
How viewers discover your content |
For example, if viewers regularly leave during lengthy introductions, consider making future openings more direct.
If tutorial videos perform better than general discussions, you may want to create more educational content.
Use these findings to improve your scripts, recording style, editing decisions, and content calendar.
Best Practices for a Consistent YouTube Workflow
An efficient workflow should be easy to repeat without reducing video quality.
A few practical habits can make production more manageable.
- Batch similar tasks: Research several topics together or record multiple videos during one session.
- Create reusable templates: Maintain consistent scripts, thumbnails, graphics, and project structures.
- Use AI for repetitive work: Assign suitable tasks such as footage review, transcription, and initial assembly to compatible tools.
- Keep project files organized: Store recordings, graphics, and final exports in clearly labeled folders.
- Schedule reviews: Set aside time to check every video before publishing.
- Track production progress: Use a shared calendar or task board to manage upcoming videos.
The most effective workflow is not necessarily the one with the most automation.
It is the one that helps creators produce useful videos consistently while maintaining control over quality.
Conclusion
Building an efficient YouTube video production workflow in 2027 requires planning, organized recording, reliable editing tools, and regular performance reviews.
A structured process helps creators move from an initial idea to a finished video without repeatedly solving the same production problems.
AI-assisted tools can simplify tasks such as footage review, clip arrangement, and audio adjustments. However, strong content still depends on clear communication, thoughtful editing, and an understanding of the audience.
By combining a repeatable workflow with suitable technology, businesses and creators can produce YouTube videos more efficiently while maintaining consistent quality.
Frequently Asked Questions
Q.1. What are the main steps in YouTube video production?
Ans. The main steps are content planning, scriptwriting, recording, editing, publishing, and performance analysis. Planning defines the video's purpose, recording captures the required material, and editing prepares the finished content. Publishing and analytics help creators reach viewers and improve future videos.
Q.2. How can I make my YouTube video production process faster?
Ans.You can speed up production by planning topics in advance, recording multiple videos together, and organizing footage before editing. Reusable templates and AI-assisted editing tools can also reduce repetitive work. A clear review process helps avoid unnecessary last-minute changes.
Q.3. What is the best video editing software for YouTube beginners?
Ans.The best editing software depends on your experience, budget, and content type. Beginners should look for an easy interface, reliable timeline controls, audio editing, captions, and suitable export options. Browser-based editors can be helpful for creators who want to avoid installing complex desktop software.
Q.4. Can AI help edit YouTube videos automatically?
Ans.Yes. Compatible AI editing tools can assist with footage review, take selection, silence removal, captions, and timeline assembly. Some also support editing through natural-language instructions. However, creators should review the results to ensure the video communicates the intended message accurately.
Q.5. How long does it take to produce a YouTube video?
Ans.Production time depends on the video's length, complexity, recording setup, and editing requirements. A simple talking-head video may take a few hours, while a detailed tutorial or documentary-style video can require several days. Planning ahead, organizing recordings, and simplifying repetitive editing tasks can help reduce production time.

 +91 774-202-1725
 +1 (945) 3387904
 business@coherentlab.com
 +49 15223341304
 UK